
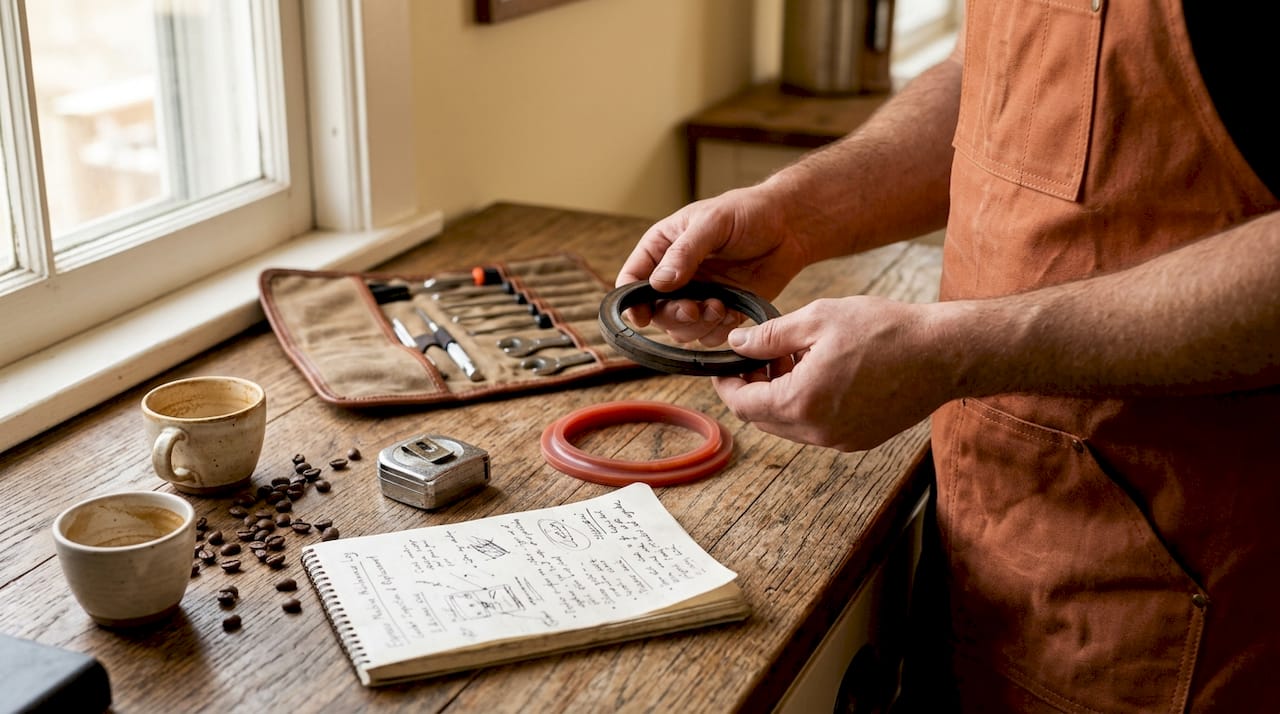
Your portafilter is dripping mid-shot, your espresso tastes flat, and the group head sounds different than it used to. Before you call a technician or start shopping for a new machine, consider this: the fix is almost certainly a $5 gasket and 20 minutes of your time. Learning to replace espresso machine parts yourself is one of the highest-return skills any home barista can develop. This guide walks you through identifying worn parts, gathering the right tools, executing the replacement correctly, and confirming the repair actually worked.
Table of Contents
- Key takeaways
- How to replace espresso machine parts: knowing what needs attention
- Tools and materials you need before starting
- Step-by-step guide to replacing the group gasket
- Testing your repair and keeping parts healthy
- My take on machine maintenance
- Find the right parts and guides at Crema-lab
- FAQ
Key takeaways
| Point | Details |
|---|---|
| Gaskets fail predictably | Group head gaskets harden and compress over time, causing leaks that ruin extraction pressure. |
| Groove cleaning is non-negotiable | Skipping the gasket groove cleaning is the top reason repairs fail even after a new part is installed. |
| Silicone outlasts rubber | Silicone gaskets last 2+ years versus 6 to 12 months for rubber, making them worth the extra cost. |
| Verification matters | Always run a blank water shot after replacement to confirm a leak-free seal before pulling real shots. |
| DIY saves real money | A group gasket costs a few dollars and takes under 30 minutes to replace without professional help. |
How to replace espresso machine parts: knowing what needs attention
Before you order anything or pick up a screwdriver, you need to correctly identify which part is actually failing. Misdiagnosing the problem is how people waste money replacing the wrong component.
The parts that wear out most often in home espresso machines are group gaskets, shower screens, O-rings, and steam wand valves. Each one has a predictable failure pattern, and once you know what to look for, diagnosis becomes straightforward.
Group gaskets are the most common culprit. The gasket sits inside the group head and creates a watertight seal when you lock in the portafilter. Over time, heat and pressure cause it to harden and compress. When that happens, you get the classic symptoms: coffee dripping from the portafilter handle during extraction, a portafilter that feels loose or locks in at a different angle than it used to, and shots that taste thin because pressure is escaping. Replacing group head gaskets annually is recommended with regular use, and the cost is minimal.
Shower screens clog with coffee oils and mineral deposits. When they fail, water distribution across the puck becomes uneven, which shows up as channeling and inconsistent extraction. You will often see dark, oily residue on the screen that backflushing alone cannot remove.
Steam wand O-rings fail when steam starts leaking from the base of the wand rather than the tip. This is a safety concern as much as a performance one.
Here is what worn parts actually do to your coffee. The group head distributes hot water evenly across the puck, and clean seals and screens are directly tied to extraction quality. A compromised gasket drops your brew pressure mid-shot, leading to under-extracted, sour espresso even when your grind and dose are dialed in perfectly. Waiting too long to address these symptoms often means the damage spreads. A leaking group head can allow water to reach electrical components or cause scale buildup that requires a much more involved repair.
Tools and materials you need before starting
Gathering everything before you begin is the difference between a smooth 20-minute job and a frustrating hour of stopping to find things. Here is what you need on the table before touching your machine.
Essential tools:
- Flathead screwdriver (for prying out the old gasket)
- Gasket pick or a thin plastic pry tool (to avoid scratching metal)
- Stiff group head brush
- Flashlight or phone torch
- Clean cloths or paper towels
Replacement parts and cleaning supplies:
- Correct replacement gasket for your machine model and group head size
- Espresso machine cleaner (such as Cafiza or Puly Caff)
- Food-safe lubricant for silicone gaskets if recommended by the manufacturer
Choosing the right gasket material is where most people do not spend enough time thinking. The choice comes down to rubber versus silicone, and the difference is significant.
| Feature | Rubber gasket | Silicone gasket |
|---|---|---|
| Lifespan | 6 to 12 months | 2+ years, stays pliable |
| Installation | Slightly stiffer | Easier to seat |
| Oil absorption | Absorbs oils, becomes brittle | Resists oil absorption |
| Cost | Lower upfront cost | Higher upfront, lower long-term |
| Cleaning | Harder to clean | Easier to wipe clean |
Rubber gaskets are cheaper and widely available, but they absorb coffee oils over time and become brittle. Silicone gaskets cost a bit more but stay pliable, are easier to install, and owners who upgrade consistently report less frequent replacements and easier ongoing maintenance.
Pro Tip: Always confirm the inner diameter, outer diameter, and thickness of your current gasket before ordering a replacement. Even within the same brand, different models use different gasket sizes. Measure the old one with a caliper if possible.
Also check that you are using machine-specific cleaning products. Vinegar damages rubber gaskets and seals, so avoid it regardless of what general cleaning guides suggest.
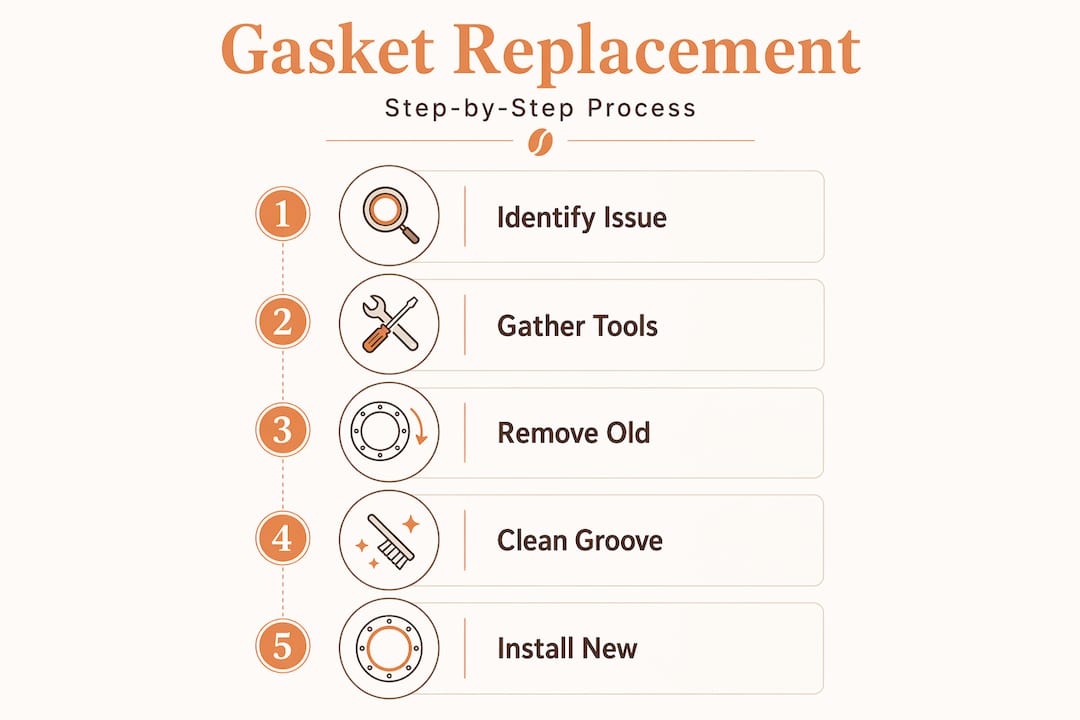
Step-by-step guide to replacing the group gasket
This is the core of espresso machine parts replacement. Follow each step in order. Skipping steps, especially the cleaning step, is the reason most DIY repairs fail.
-
Unplug the machine and let it cool completely. This is not optional. The group head holds heat for a long time. Give it at least 30 minutes after turning off. Swapping a group gasket takes 15 to 20 minutes once you are ready, but rushing the cooldown risks burns.
-
Remove the portafilter. Twist it out and set it aside. You now have clear access to the group head.
-
Remove the shower screen. There is typically a single screw in the center. Unscrew it and lift the screen off. Set both the screw and screen somewhere you will not lose them.
-
Locate the old gasket. It sits in a groove just inside the rim of the group head. Shine your flashlight in to see it clearly. It will likely look dark, compressed, and possibly cracked.
-
Pry out the old gasket. Use your gasket pick or flathead screwdriver to work it out gently. Go around the circumference slowly rather than forcing one section. Be careful not to gouge the metal groove. Take your time here.
-
Clean the gasket groove thoroughly. This is the step most people rush or skip entirely. Failure to clean the gasket groove of coffee oils and grounds is the most common reason for persistent leaks after replacement. Use your stiff brush and a small amount of espresso machine cleaner. Work it around the groove until no residue remains. Wipe clean with a cloth and inspect with your flashlight.
-
Clean the shower screen and screw. Soak them in your cleaning solution for a few minutes, then scrub and rinse.
-
Install the new gasket. Press it into the groove with your fingers, working around the circumference evenly. It should sit flush. Do not force it with a tool at this stage.
-
Seat the gasket with the portafilter. Insert an empty portafilter (no basket needed) and lock it in as you normally would. This applies even pressure around the entire gasket and ensures a snug, watertight seal. A well-seated gasket requires this step. Remove the portafilter and visually confirm the gasket is evenly seated in the groove.
-
Reinstall the shower screen and screw. Place the screen back and tighten the screw firmly but not aggressively. Overtightening can crack the screen or strip the thread.
Pro Tip: If the new gasket feels very stiff and hard to seat, it may be the wrong size. A correctly sized gasket should require moderate hand pressure but should not need to be forced in with tools.
Common pitfalls to avoid: inadequate groove cleaning (covered above), using the wrong gasket size, overtightening the shower screen screw, and installing the gasket upside down if it has a directional profile. Check the manufacturer's instructions for your specific gasket if you are unsure about orientation.
Testing your repair and keeping parts healthy
With the gasket installed and the shower screen back in place, you are ready to verify the repair before pulling a real shot.
- Plug the machine back in and allow it to reach full operating temperature.
- Lock in your portafilter (empty, no coffee) and run a water-only shot. Watch the portafilter handle and the group head junction closely.
- Running a blank water shot checks the seal quality. You should see zero dripping from the handle or the group head.
- Notice how the portafilter locks. It should feel firm and lock at the same position as a new machine. If it still feels loose or leaks, the gasket may not be seated correctly or the groove was not cleaned thoroughly enough.
- Expect a short break-in period. The first few shots may show very minor resistance changes as the gasket settles. This is normal and resolves within a few uses.
Once you confirm the repair is solid, build these habits to extend the life of your parts:
- Wipe the gasket with a damp cloth after each session to remove coffee oils before they harden.
- Backflush regularly with espresso machine cleaner to prevent buildup in the group head.
- Use filtered water to reduce mineral scale that degrades seals and screens faster.
- Inspect the gasket visually every few months. Catching early hardening means you replace it on your schedule, not when it fails mid-shot.
My take on machine maintenance
I have watched a lot of people go through the same cycle: ignore the drip, pull bad shots, eventually pay a technician $80 to replace a $4 gasket. The repair itself is not the frustrating part. The frustrating part is realizing how simple it was.
In my experience, the single most overlooked step is cleaning the gasket groove. People focus on getting the new part in and skip the cleaning because it feels like a minor detail. It is not. Hidden oils and grounds in that groove will cause leaks even with a brand-new gasket. I have seen this happen repeatedly, and it is always the same story: "I replaced it but it's still leaking." The groove was not clean.
My other strong recommendation is to upgrade to silicone when you replace. The price difference is small, and the performance difference over a year of daily use is real. You will replace less often, the installation is easier, and the gasket stays pliable in a way rubber simply does not.
Beyond the practical benefits, doing your own espresso machine repair builds genuine understanding of how your machine works. You stop treating it like a black box and start noticing small changes before they become real problems. That kind of awareness is worth more than any single repair.
— Oleg
Find the right parts and guides at Crema-lab

Knowing how to do the repair is half the job. Finding the right part for your specific machine is the other half, and getting it wrong means starting over. At Crema-lab, you will find manufacturer-verified buying guides covering home espresso machines from Breville, Flair, and others, with detailed specs that help you match replacement parts to your exact model. Whether you are sourcing a group gasket, a shower screen, or planning a broader maintenance check, the guides are built to give you the information you need before you spend a dollar. No guesswork, no generic advice.
FAQ
How often should I replace my espresso machine's group gasket?
With regular daily use, replacing the group head gasket once a year is the standard recommendation. Gaskets harden and compress over time, causing leaks and pressure loss that directly affect shot quality.
What are the signs my espresso machine parts need replacing?
The most common signs include coffee dripping from the portafilter handle during extraction, a portafilter that locks at a different angle than usual, off-flavors in your espresso, and visible cracking or compression in the gasket.
Is silicone or rubber better for espresso machine gaskets?
Silicone gaskets last over two years and stay pliable, while rubber gaskets typically last 6 to 12 months before hardening. Silicone costs more upfront but requires less frequent replacement and is easier to clean.
Can I replace espresso machine parts without professional help?
Yes. Most common espresso machine parts replacement tasks, including group gaskets, shower screens, and O-rings, require only basic tools and take 15 to 30 minutes. The key is using the correct part size and cleaning the group head thoroughly before installing anything new.
Why is my espresso machine still leaking after I replaced the gasket?
The most likely cause is an unclean gasket groove. Coffee oils and grounds left in the groove prevent the new gasket from seating correctly, which causes leaks even with a brand-new part installed. Remove the gasket, clean the groove thoroughly, and reinstall.